A Practical Guide to Risk Reward Mapping

A trade can look perfect on a chart and still be a poor decision if the stop is too wide, the target is too close, or the entry leaves no room for error. This guide to risk reward mapping gives you a repeatable way to define those three levels before you place the trade - so your decision is based on structure, not hope.
What risk reward mapping means on a chart
Risk reward mapping is the process of plotting your entry, invalidation level, and profit target against real market structure. The risk is the distance from your entry to your stop-loss. The reward is the distance from your entry to a realistic target.
If you plan to buy a stock at $100, place a stop at $98, and target $106, you are risking $2 per share to make $6 per share. That is a 1:3 risk-reward ratio. For every dollar at risk, the trade offers three dollars of potential reward before fees, spread, slippage, and partial exits.
The key word is potential. A 1:3 setup is not automatically a good trade. Price must have a credible path to the target, and the stop must sit where the original idea is actually invalidated. Mapping turns a ratio into a chart-based decision.
Start with market structure, not a preferred ratio
Many traders decide they need a 1:2 or 1:3 ratio, then force their stop and target levels until the numbers fit. That approach can create clean math and poor trades.
Start with the chart. Identify the current trend, the nearest meaningful support or resistance, the recent swing high or low, and areas where price previously accelerated or reversed. These levels establish what the market is likely to respect.
For a long setup, the entry may be a breakout above resistance, a pullback into support, or a reclaim of a key moving average. Your stop should sit below the level that proves the long thesis wrong. Your target should usually be below or near the next major resistance zone, not at an arbitrary price that makes the ratio look attractive.
The same logic applies to shorts. A short entry should have a clear invalidation point above resistance or a recent swing high. Its target should be tied to support, prior demand, or a measured move that the market can reasonably reach.
A stop-loss is an invalidation point
A stop is not simply the largest dollar amount you are willing to lose. It is the price level where your setup no longer makes sense.
For example, if you buy a pullback at a prior breakout level, a close back below the prior base may invalidate the setup. Placing the stop just a few cents below your entry because you want a tight ratio may put it inside normal price noise. Conversely, placing it far below every nearby level can make the position too expensive to justify.
The right stop depends on the instrument, timeframe, volatility, and setup. A five-minute crypto scalp and a multi-day stock swing should not be mapped with the same buffer.
A target must be realistic, not optimistic
Profit targets should reflect the next point where opposing orders may appear. On a long trade, that may be previous resistance, a prior daily high, a supply zone, or a key round number. On a short trade, look for prior support, an unfilled gap area, or a demand zone.
If the next major resistance is only 1R away, but your stop needs to be 1R below entry, the trade may not offer enough upside. That does not mean the chart cannot move higher. It means the current entry may not provide an efficient risk-reward opportunity.
Waiting for a pullback, a tighter consolidation, or a confirmed breakout can improve the map without changing the underlying trade idea.
Build the map in the right order
The cleanest risk-reward decisions come from following the same sequence every time. First define the setup, then find the invalidation level, then identify the realistic target. Only after those levels are set should you calculate the ratio and position size.
For a long trade, the calculation is:
Risk per share or unit = Entry price - Stop price
Potential reward per share or unit = Target price - Entry price
Risk-reward ratio = Potential reward ÷ Risk
Suppose a forex pair breaks above a consolidation range at 1.0850. The structure suggests a stop at 1.0825, below the range low, and the next resistance sits near 1.0925. Your risk is 25 pips and your potential reward is 75 pips. The map offers 1:3.
Now test the map. Is the breakout supported by trend and momentum? Is there nearby resistance before 1.0925? Is a major economic release likely to create spread expansion or volatility? Does the pair regularly move 75 pips during your planned holding period? The ratio is only useful when it matches market conditions.
Use position size to keep risk constant
Risk-reward mapping becomes powerful when every trade has a defined dollar risk. Instead of buying the same number of shares, contracts, or coins on every setup, adjust your size based on the distance to the stop.
If your maximum loss per trade is $100 and your stop is $2 away, your maximum position size is 50 shares. If another valid setup requires a $0.50 stop, you could take 200 shares while keeping the same $100 of risk.
This is where many active traders lose discipline. A wide stop does not justify risking more money because the setup feels stronger. It requires a smaller position. Consistent position sizing keeps one volatile chart from doing disproportionate damage to your account.
Account risk should also match your experience and trading style. Newer traders may use a lower fixed risk amount while they build consistency. More experienced traders may scale risk only after reviewing a meaningful sample of trades, not after one winning streak.
Match the ratio to the setup and win rate
A higher ratio is not always better. A trade with a 1:5 target may look impressive, but if price reaches that target only occasionally, a more attainable 1:2 setup could be more effective for your strategy.
Expectancy connects risk-reward to probability. A system can be profitable with a low win rate if average winners are much larger than average losers. It can also be profitable with a high win rate and smaller average gains. What matters is whether the numbers hold up across enough trades.
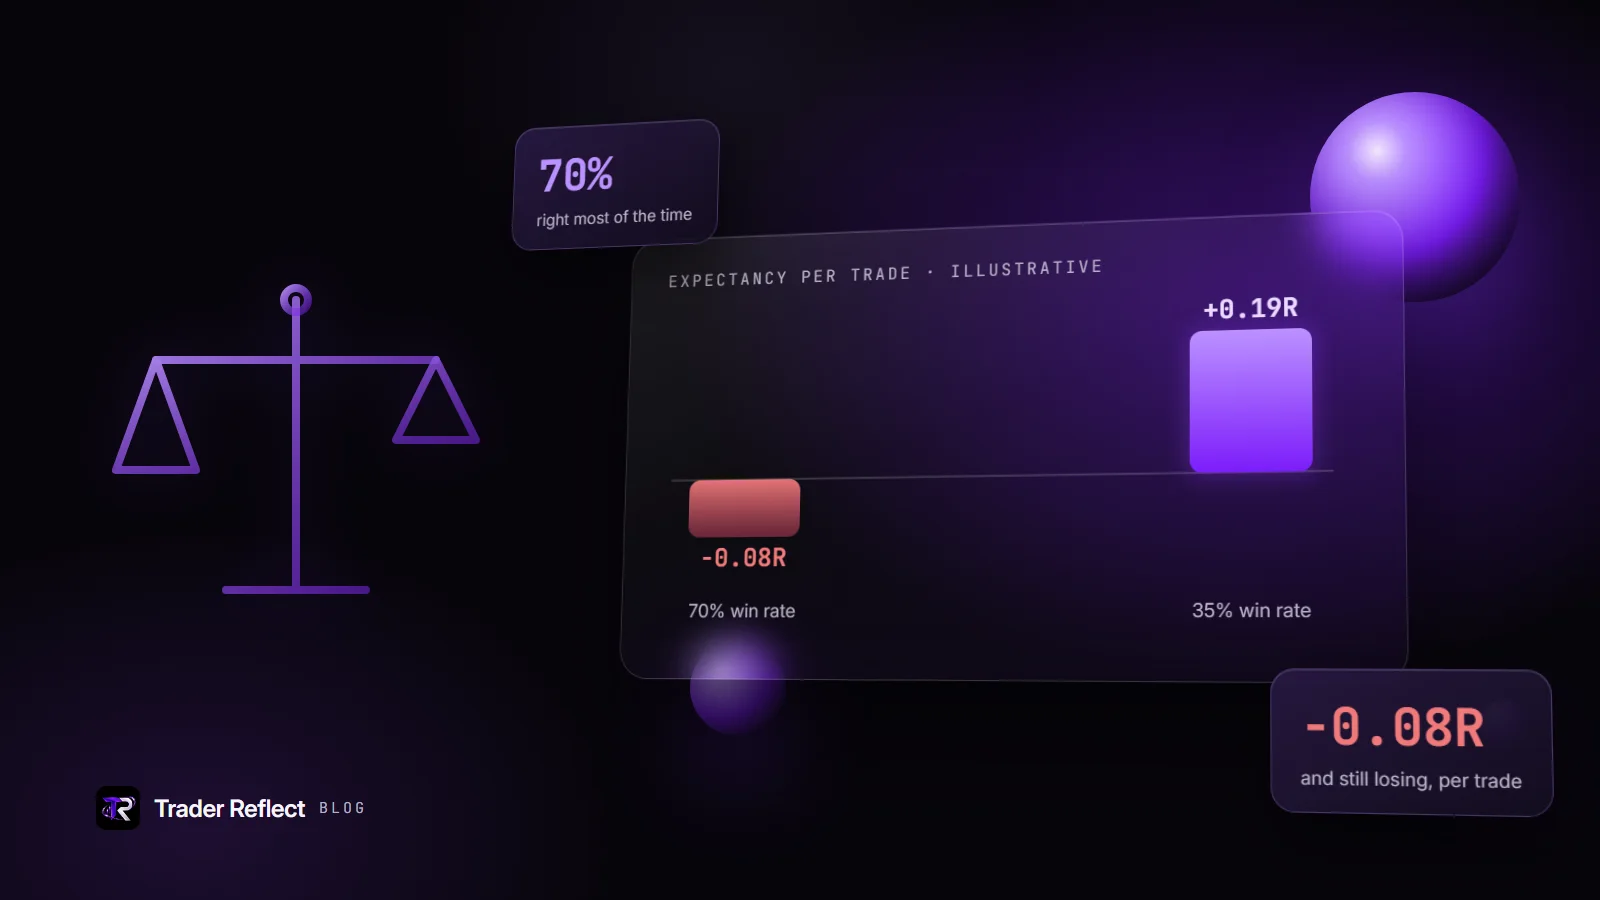
For example, a strategy that wins 40% of the time at 2R and loses 1R on the other 60% has positive expectancy before trading costs. But a strategy that wins 70% of the time at 0.5R can fail if one full loss erases several small gains.
Do not invent a win rate from a handful of trades. Track entries, stops, targets, realized exits, and the market conditions around each trade. Over time, you will see whether your mapped targets are too aggressive, your stops are too tight, or your entries consistently leave too little upside.
Account for friction before you enter
Charts do not trade in a vacuum. Spreads, commissions, funding costs, slippage, and fast-moving news can reduce the reward you actually capture and increase the loss when a stop executes.
This matters most for tight intraday setups. A planned 1:2 trade with a narrow stop can become much less attractive if the spread consumes a meaningful portion of the risk. In thinly traded stocks, low-liquidity crypto pairs, or volatile news windows, stop execution may occur beyond your planned price.
Give levels enough room for the instrument's normal behavior. If that extra room ruins the risk-reward ratio, pass on the trade or wait for a better location. A skipped setup is often better than a forced one.
Make risk reward mapping faster without making it weaker
Speed matters when you review multiple markets, but fast analysis should still follow structure. Use one chart workflow: establish the higher-timeframe trend, mark support and resistance, identify the entry trigger, place the invalidation level, and measure the next viable target.
AI-powered chart interpretation can help shorten the first part of that process by surfacing trend context and key price levels from a chart image. ChartViews AI can provide a structured starting point, but the trade decision still requires your rules, risk limit, and awareness of scheduled market events.
Before you enter, ask one direct question: if price reaches my stop, does that clearly prove this setup was wrong? If the answer is unclear, the map is not ready. Clean risk-reward mapping does not guarantee a winning trade. It gives every trade a defined loss, a defensible objective, and a reason to stay disciplined when price moves.
Educational content, not financial advice. Trading involves risk of loss.
 Money Circle Blog
 Trader Reflect Blog